
Angletarn Pikes - Lake District Walk
Tuesday 7th November 2023
Having spent years looking at other people's walks to Angletarn Pikes I was determined that on this holiday we were ticking these tops of the to do list. Just to make sure we made this the first walk of the holiday. The one advantage we had was that the road over Kirkstone Pass was closed, so a far better chance of getting a parking space than we have had on previous occasions.
Start: Hartsop (NY 4057 1325)
Route: Hartsop - Dubhow - Boredale Hause - Angletarn Pikes North (422) - Angletarn Pikes South (423) - Angle Tarn - Brock Crags (424) - Satura Crag - Hayeswater - Hartsop
Distance: 7.25 miles Ascent: 596 metres Time Taken: 5 hrs 40 mins
Terrain: Clear paths
Weather: Cold with a mixture of sunny spells and showers
Pub Visited: Crown Inn, Pooley Bridge Ale Drunk: Thwaites Original Best Bitter
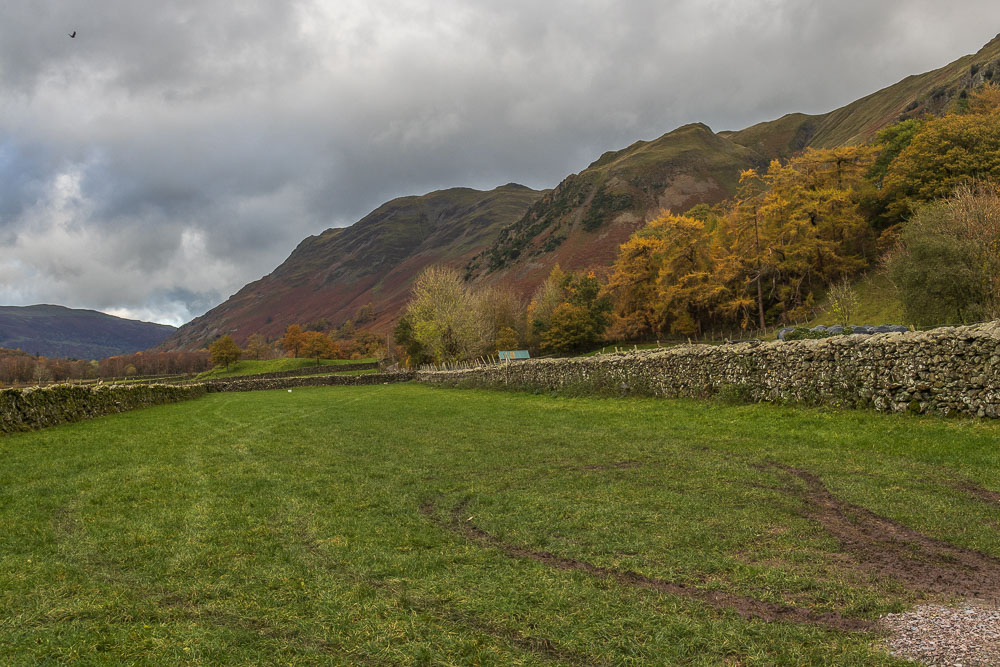
As we turned off the A592 we saw a sign for a car park immediately on our left. Although it was charging the money appeared to be going to fund the nearby community hall, as it was on the lane we were going to be walking down we decided to use it.
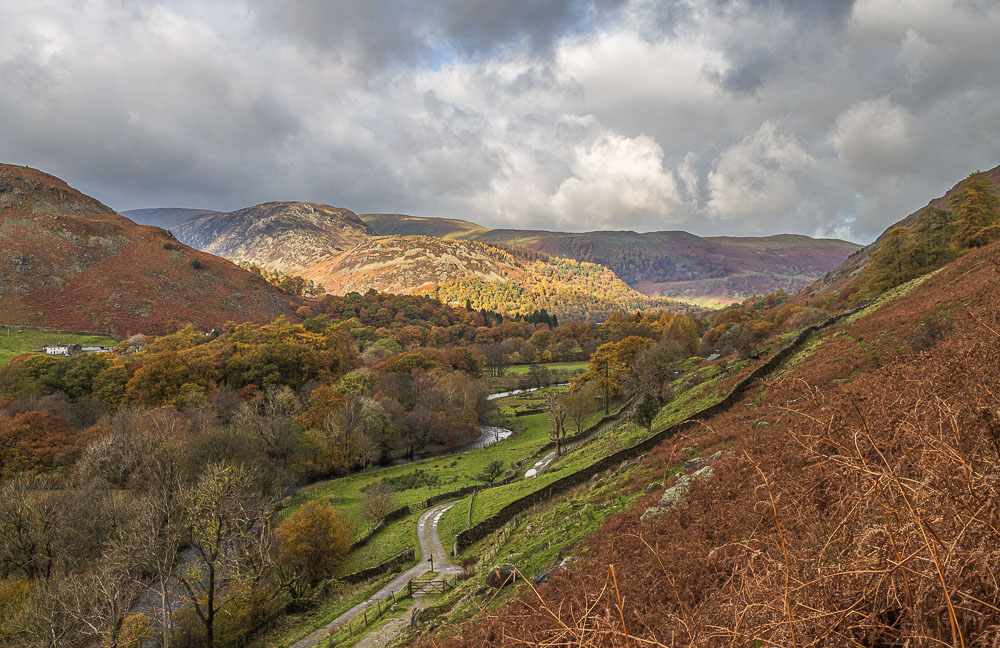
Having left the lane heading towards Patterdale and started the climb up to Boredale Hause we were soon rewarded with views across to Sheffield Pike.
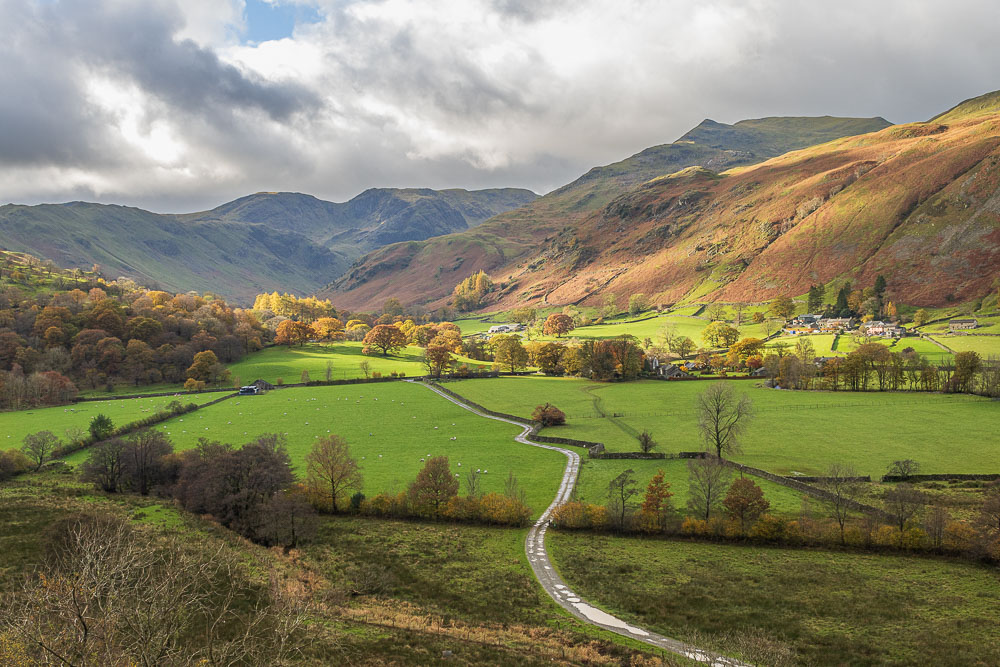
Looking back to Hart Crag and Fairfield with Gavel Pike and St Sunday Crag also in view.
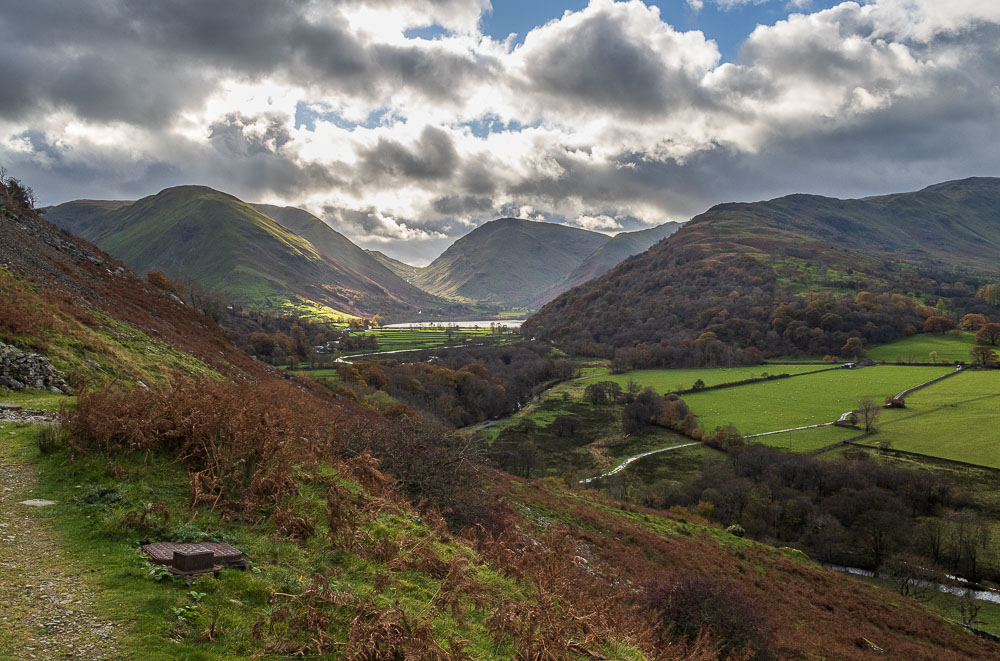
As we continue up the view expands to now include Brothers Water, Kirkstone Pass and Red Screes.
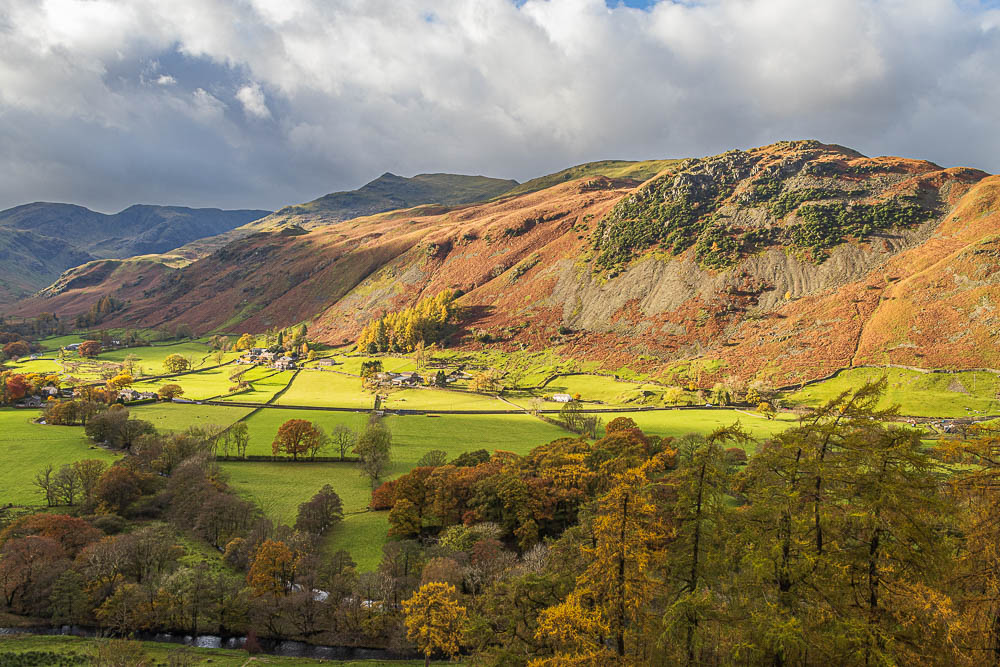
Looking across to Arnison Crag as we continue upwards
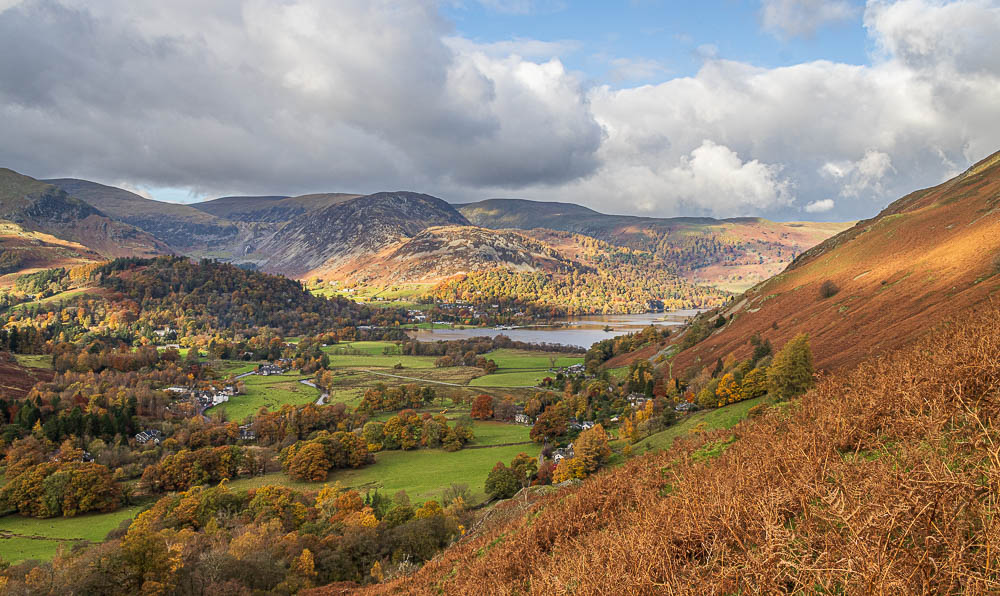
As we climb and get closer to Boredale Hause Ullswater comes into view.
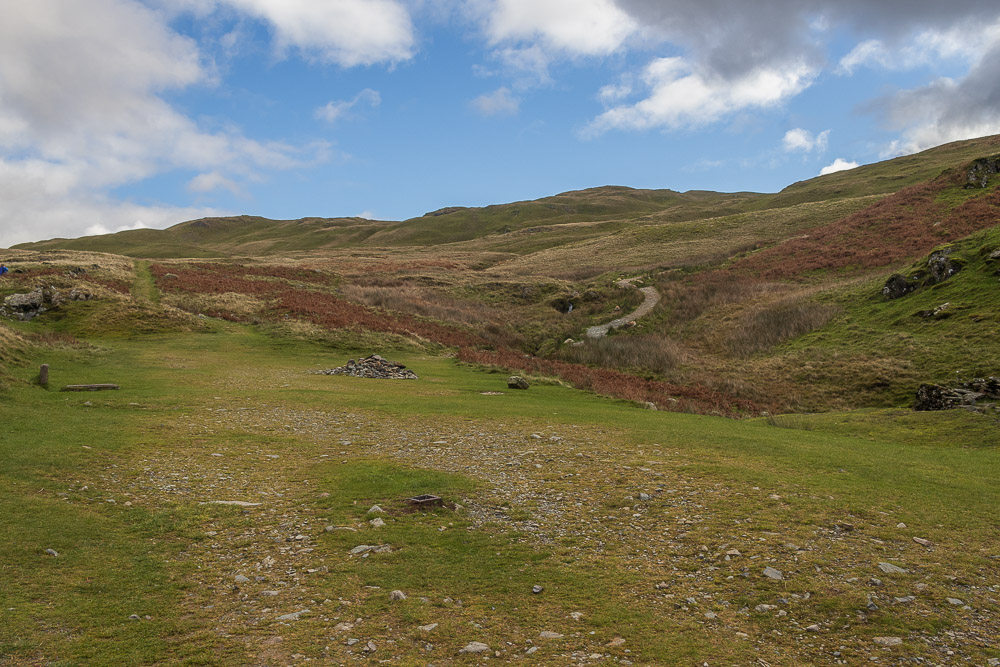
When we reach Boredale Hause we take the path heading right crossing a small stream and following it below Stony Rigg.
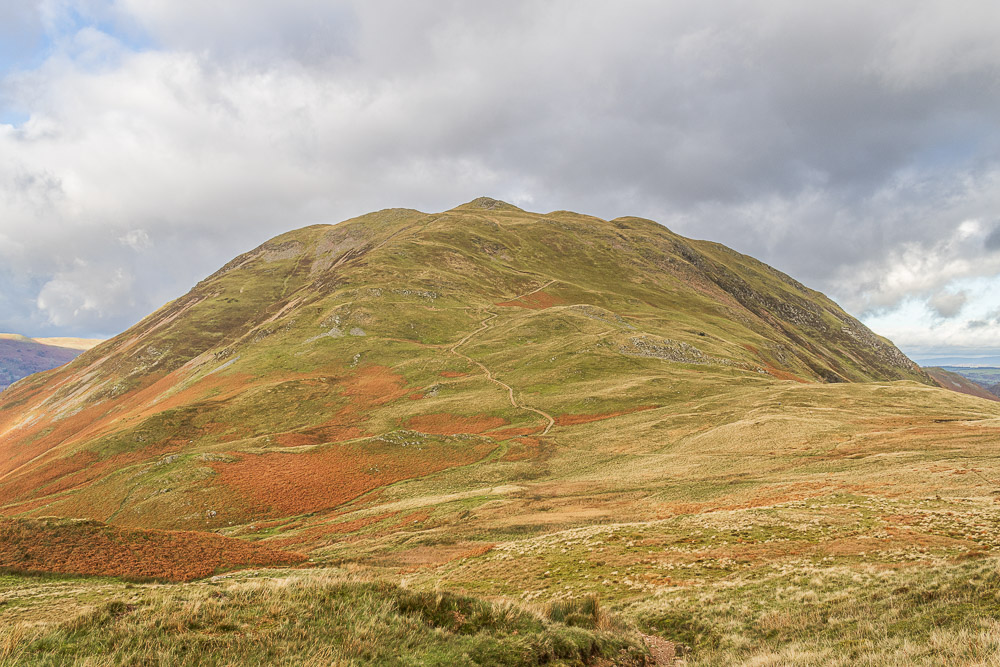
We soon get a good view of Place Fell and can discuss the route we took a few years ago when we were last in this area.
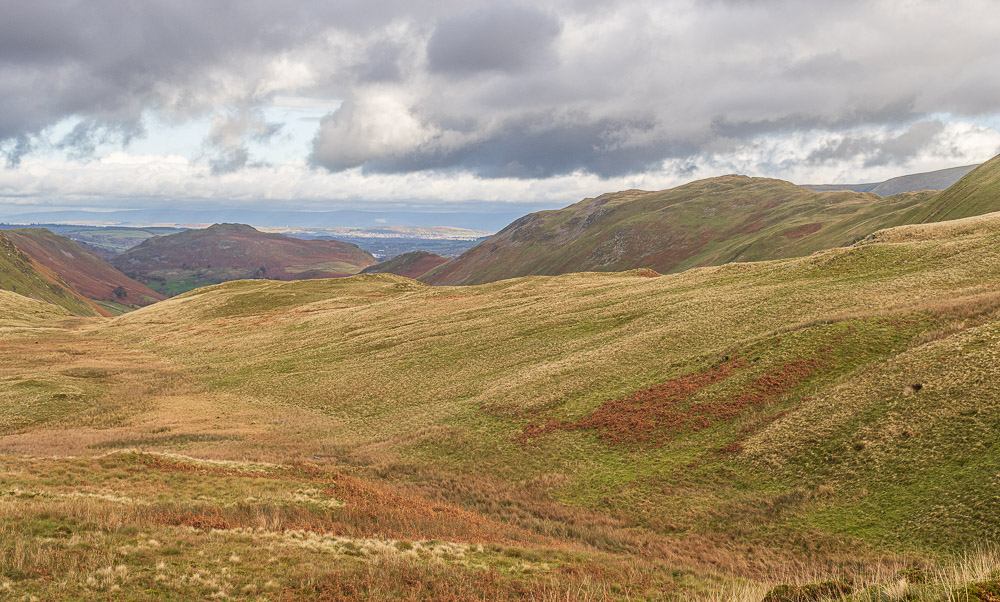
Now our view is looking out towards Penrith with Hallin Fell, Steel Fell and Beda Fell all in view.
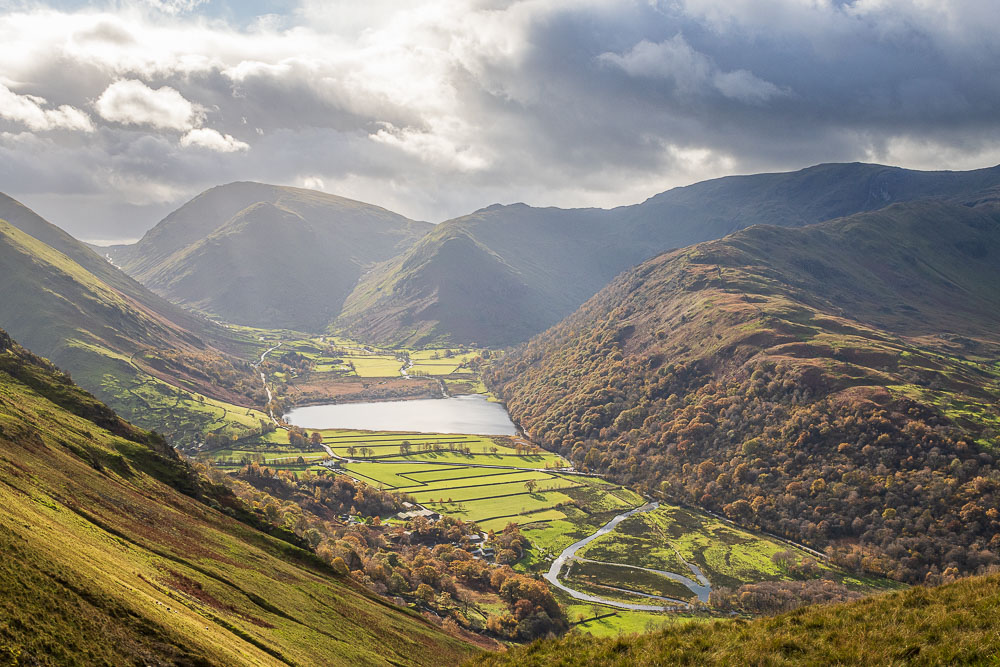
As we once again get a view of Brothers Water it is also clear that the cloud over to the west is starting to build and we may not be in the sun for much longer.
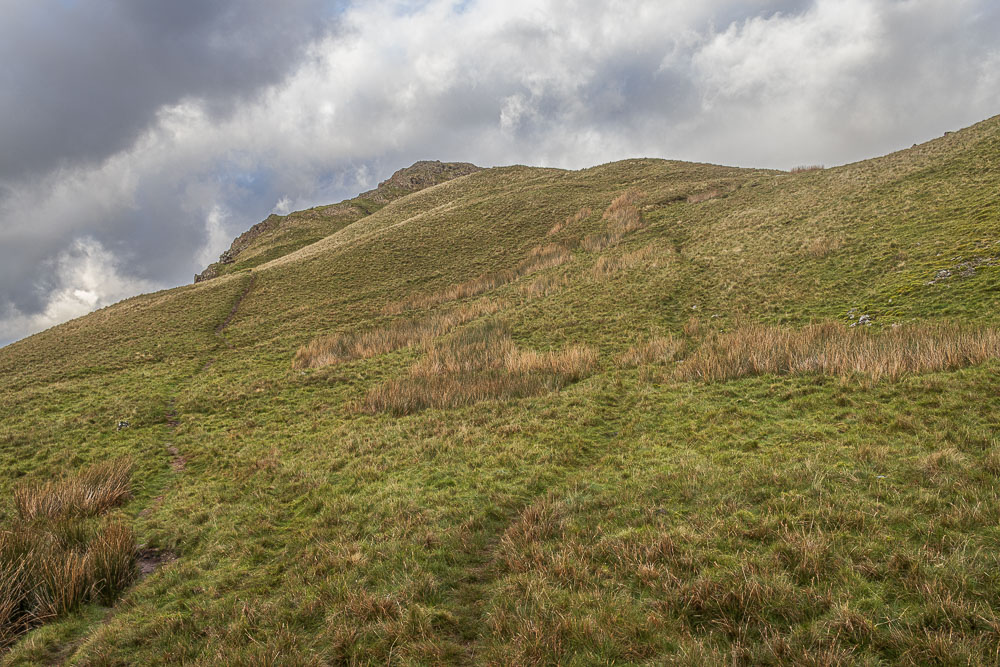
We nearly walked passed the two summits but suddenly realised what we were walking beneath and so took the path behind us to head up to the northern summit of Angletarn Pikes.
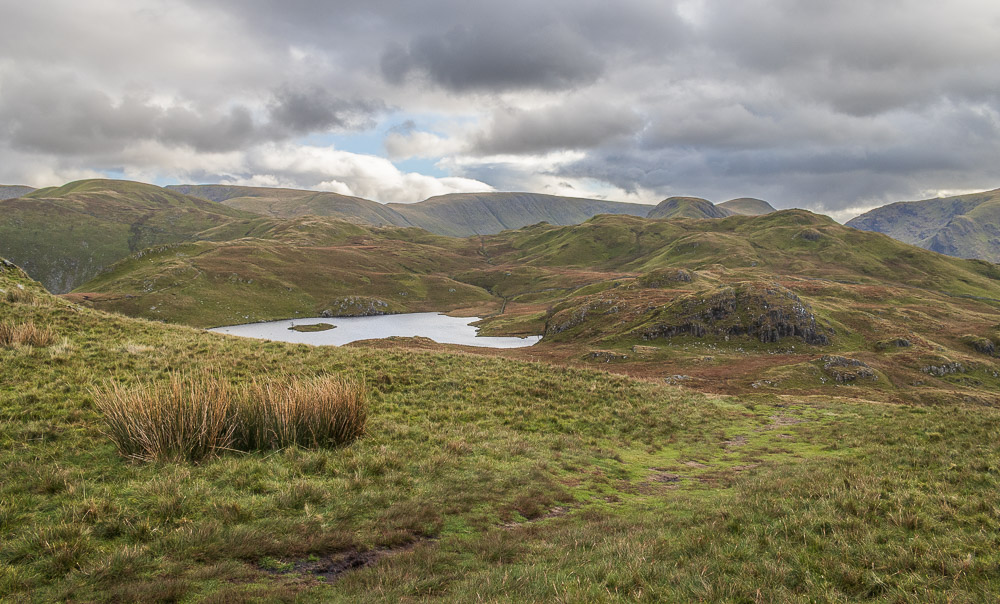
As we climb towards the first summit Angle Tarn comes into view.
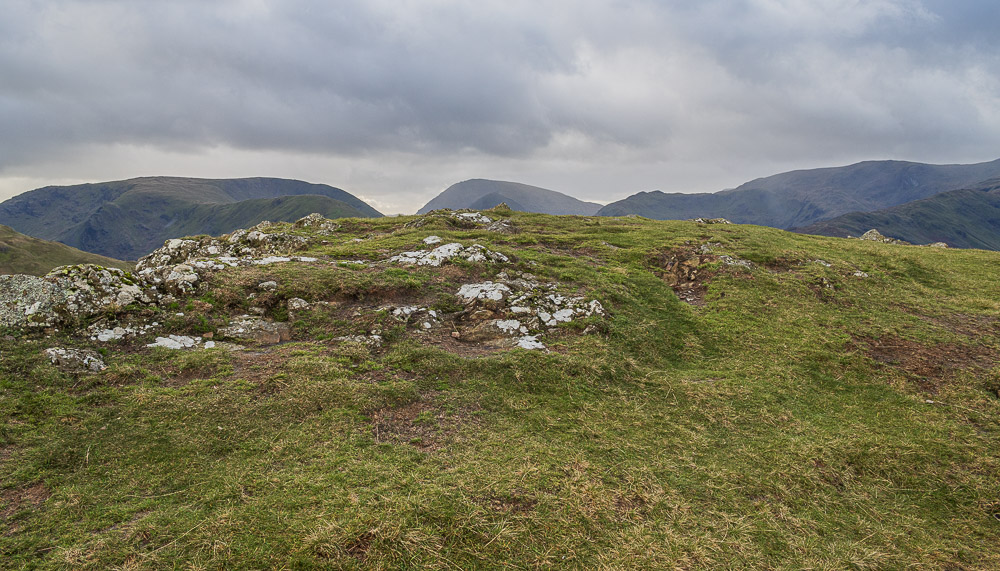
After an easy stroll up we reach the northern summit of Angletarn Pikes.
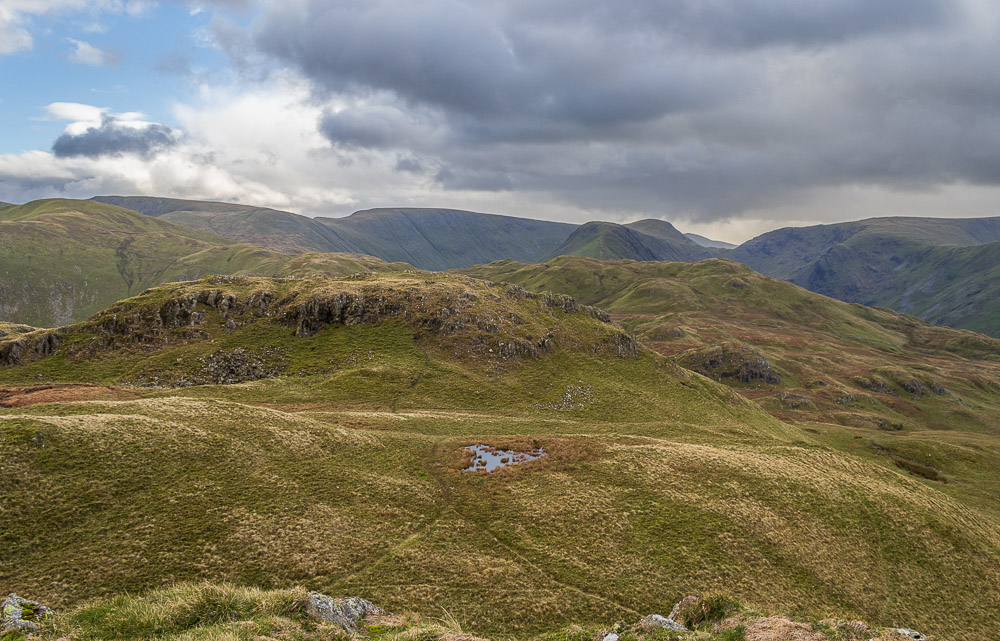
Looking across to the more southerly of the two summits on Angletarn Pikes and hoping those grey clouds might slow down a bit.
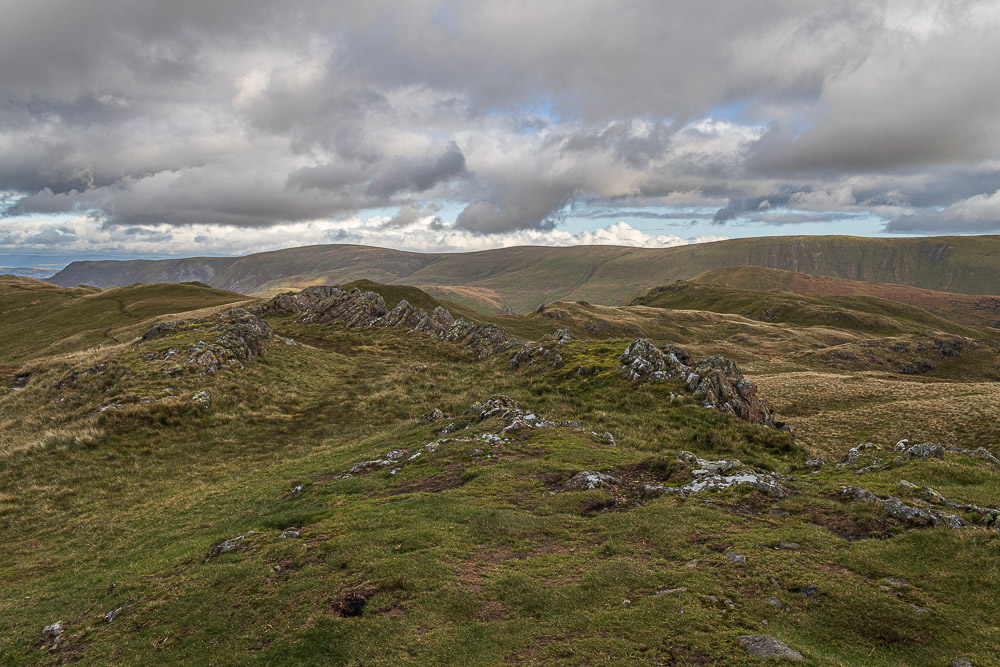
Looking towards Loadpot Hill from the summit.
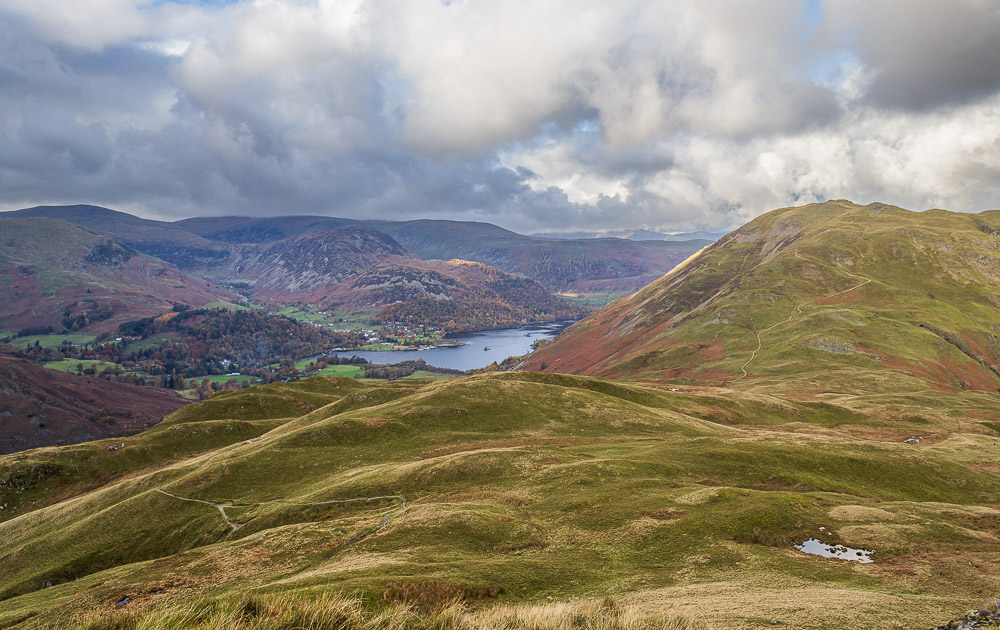
Looking back to Place Fell and Ullswater before we start to head across to the the other summit.
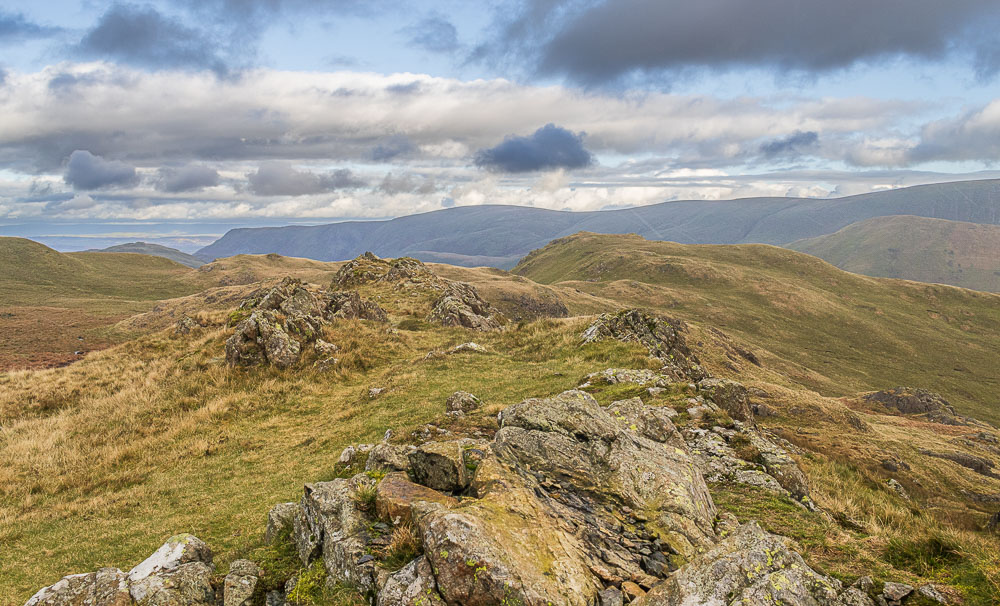
Reaching the second of the two summits involved more of an adventure than was planned for. Between the two tops it started raining and the rock step up to it, which John managed easily, was a little too greasy and too much of a leg stretch for me, so after a short wander around the summit I found an easier way up.
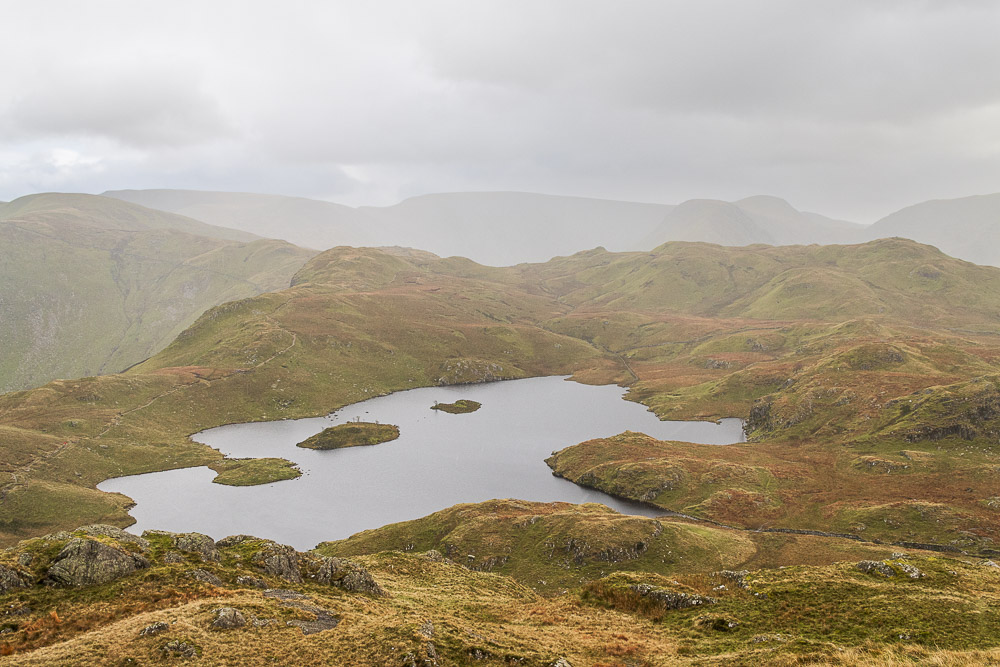
As we reached the summit the edge of the rain also reached us and the view altered drastically depending upon where you looked. Cloud and rain to the south over Angle Tarn or more blue sky to the north and Loadpot Hill, as in the previous photo.
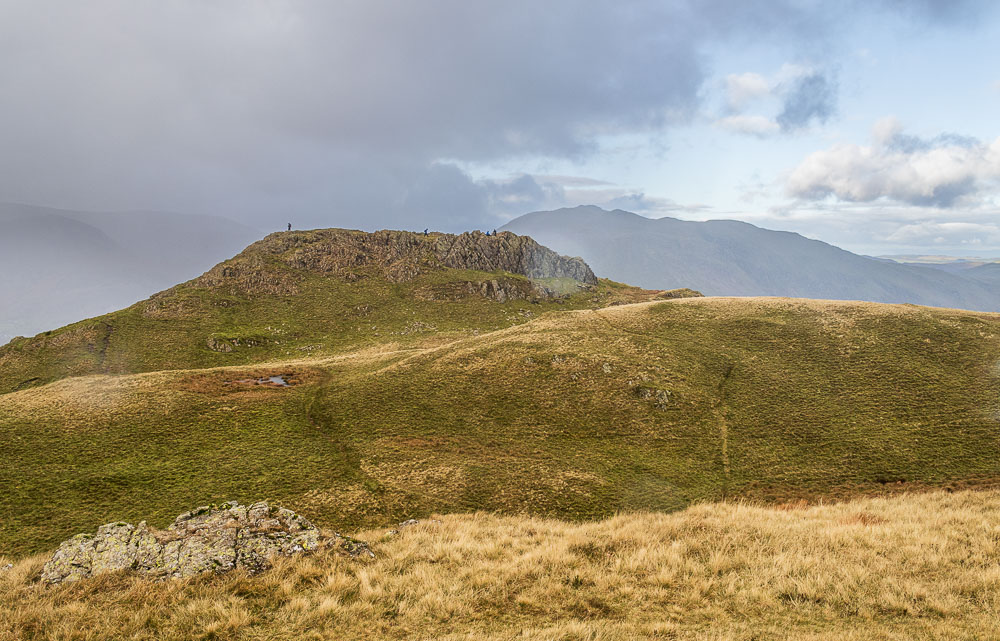
Despite my best efforts I still managed to get rain on my lens as is shown by the view from the southern top to the northern top.
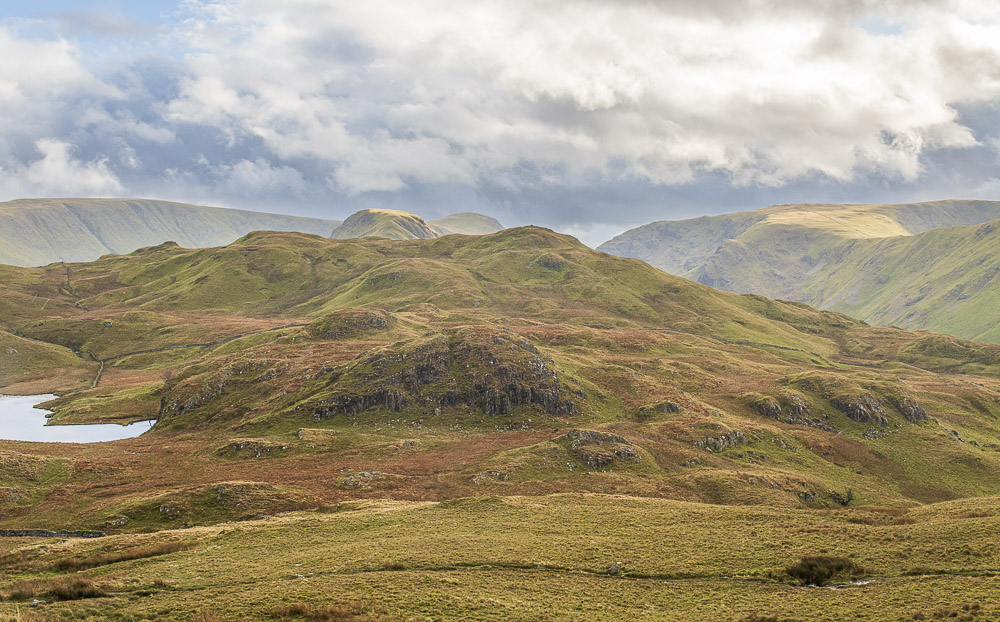
Having packed the camera away and started to descend the sun came out. Looking across to our next summit of Brock Crags it was time to decide if we were going left or right around the tarn.
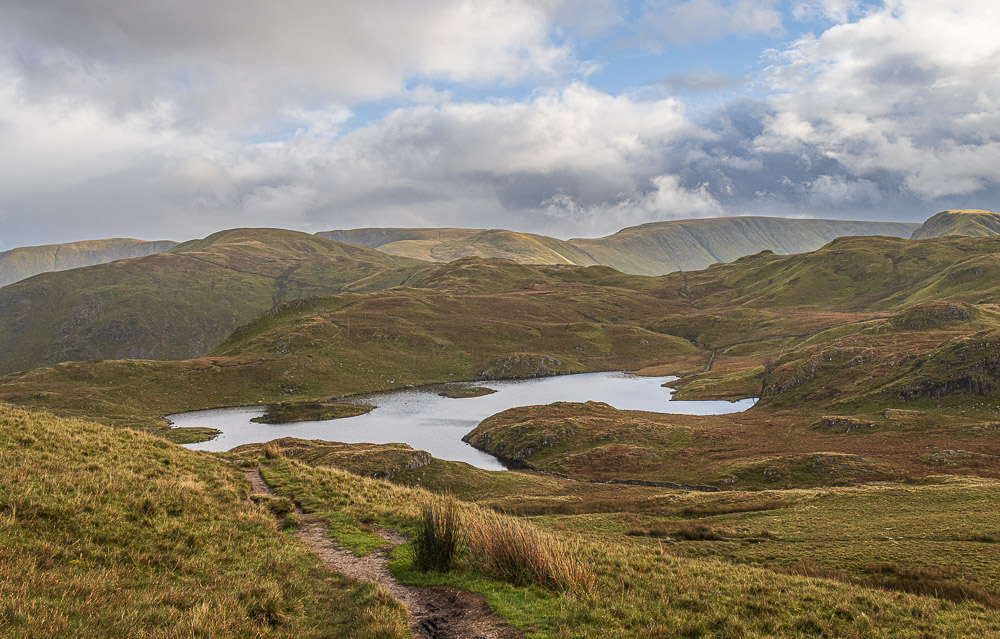
We opted to follow the clearer path around the tarn which took us under Buck Crag.
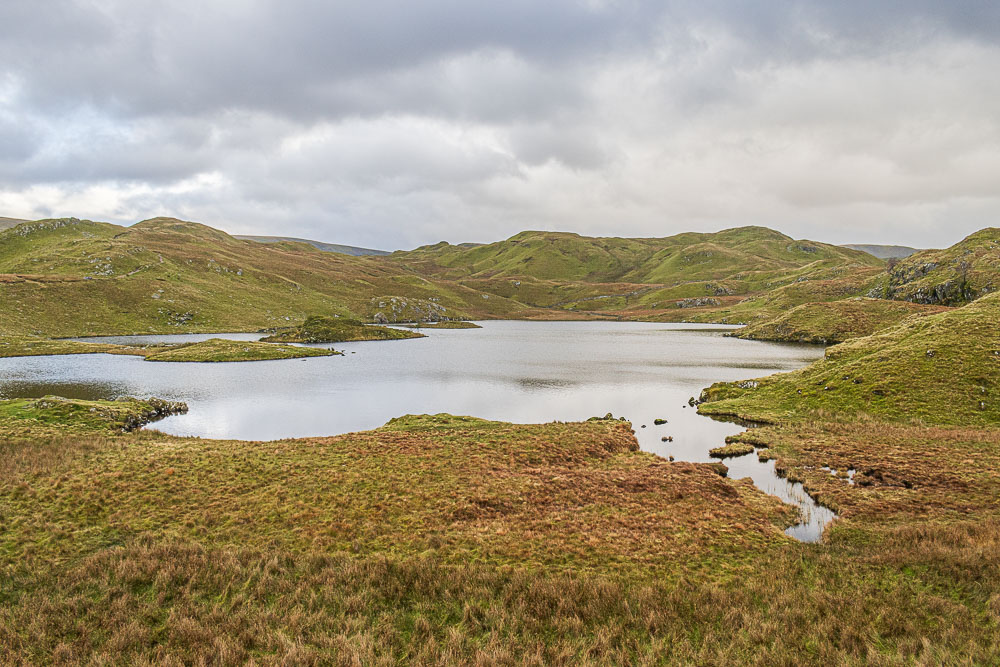
The clear path made our journey around the tarn quite quick, here looking across to Brock Crags whilst also trying to spot a potential lunch spot.
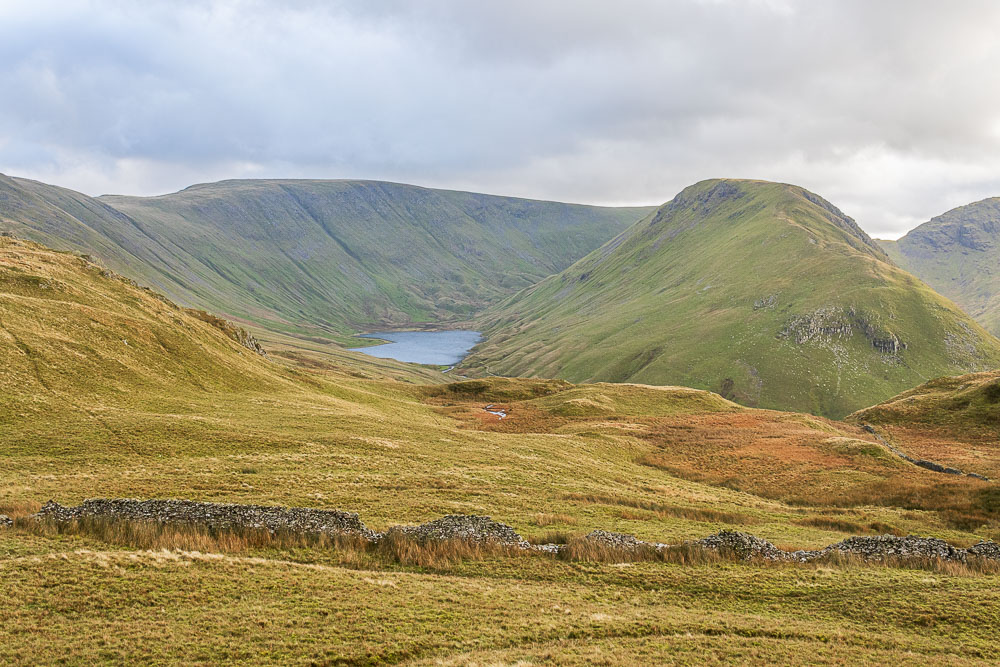
All the best spots closest to the tarn were taken but when Hayeswater came into view we ventured off the path for a lunch looking over to Gray Crag and Hayeswater.
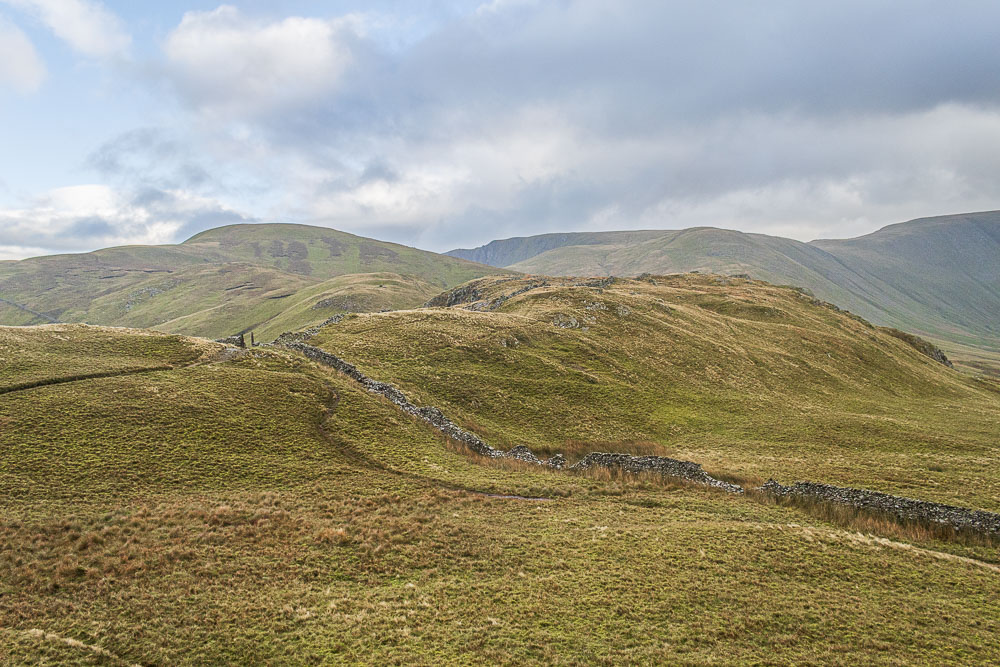
As we had lunch we debated which route we would eventually take back to Hartsop. One option was to descend down the side of Brock Crags, which I knew was quite steep, the other was to head across Satura Crag and take the path down to Hayeswater.
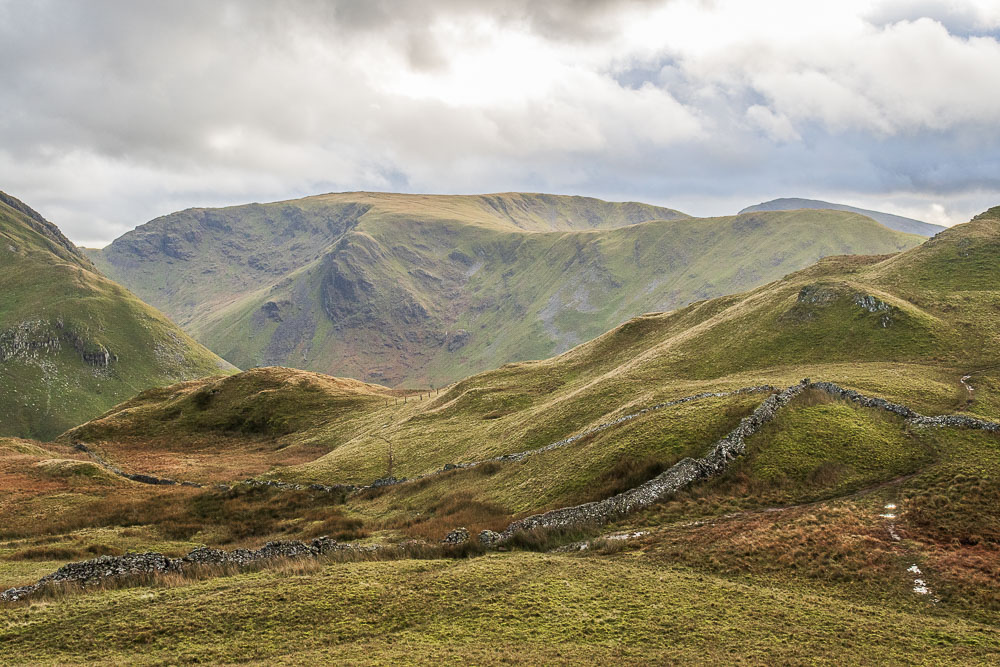
Looking across to Caudale Moor and Hartsop Dodd from our lunch spot. The path we would follow to Brock Crags is just below us.
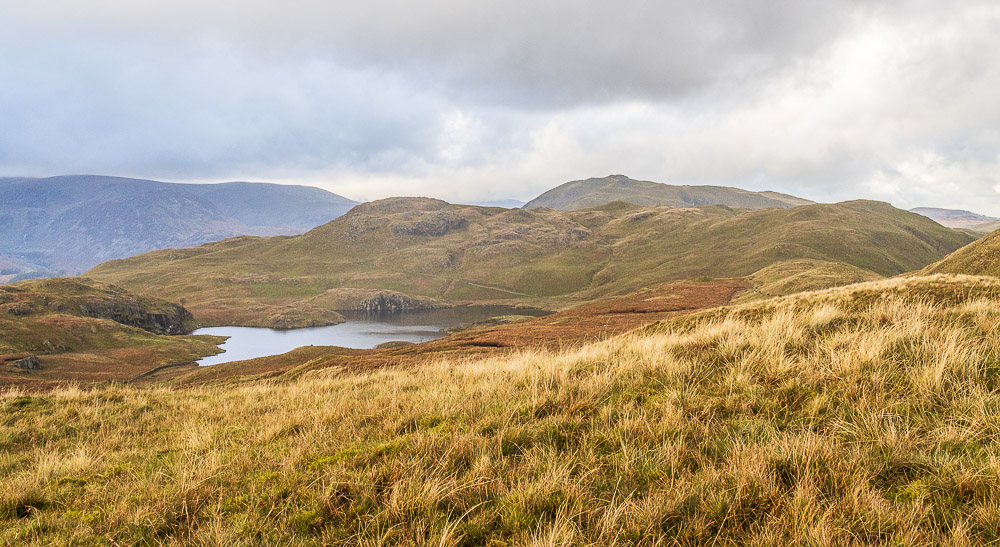
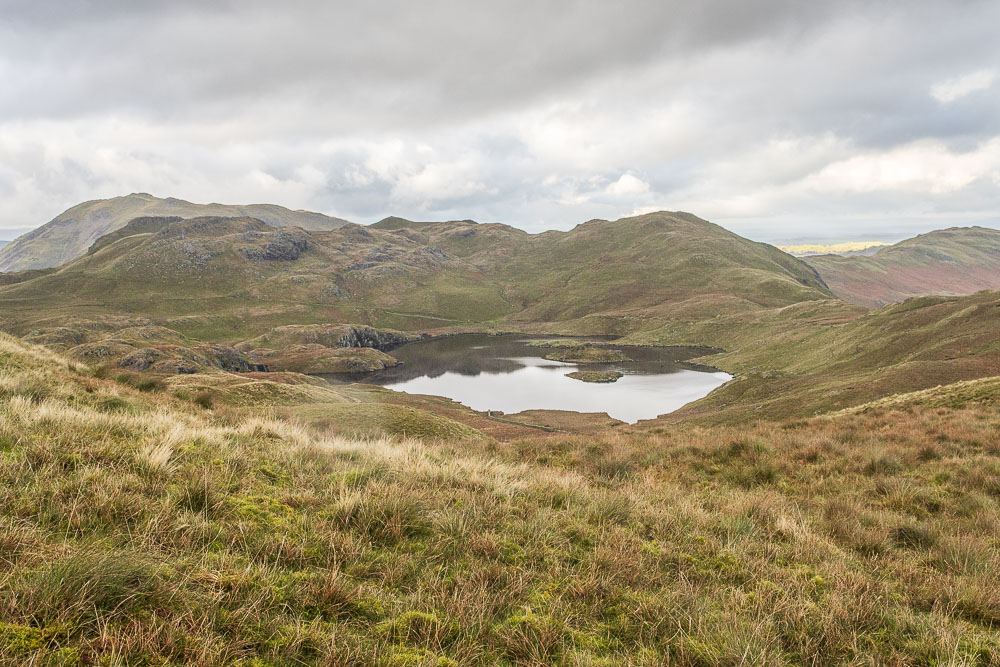
Lunch over we make the short journey across to Brock Crags enjoying the view back across Angle Tarn to Angletarn Pikes.
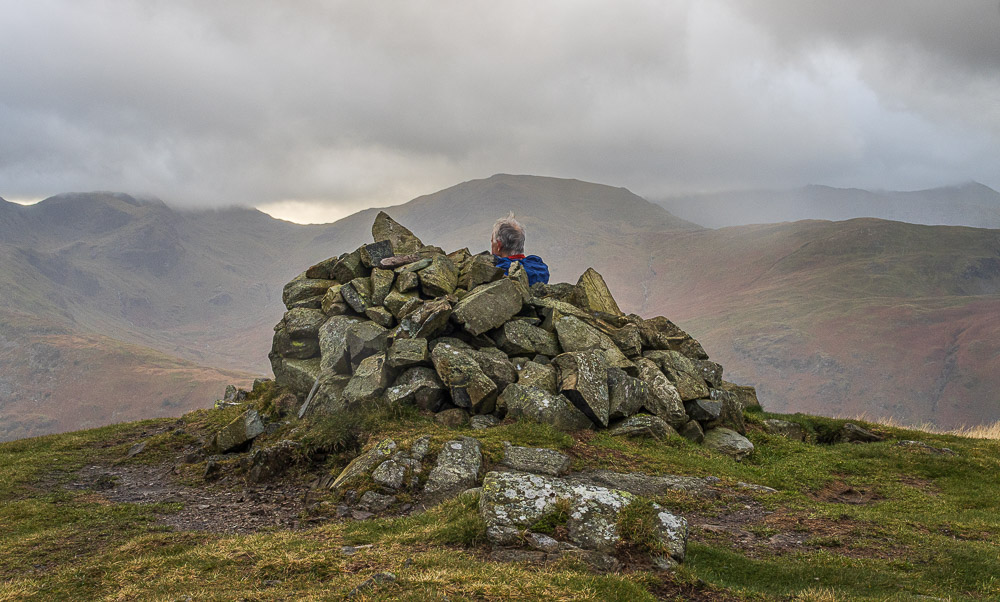
Despite seeing no-one pass below on the path when we had lunch we arrived at the Brock Crags summit cairn to find it was occupied. With even more excellent timing just as we reached the summit it started to rain again.
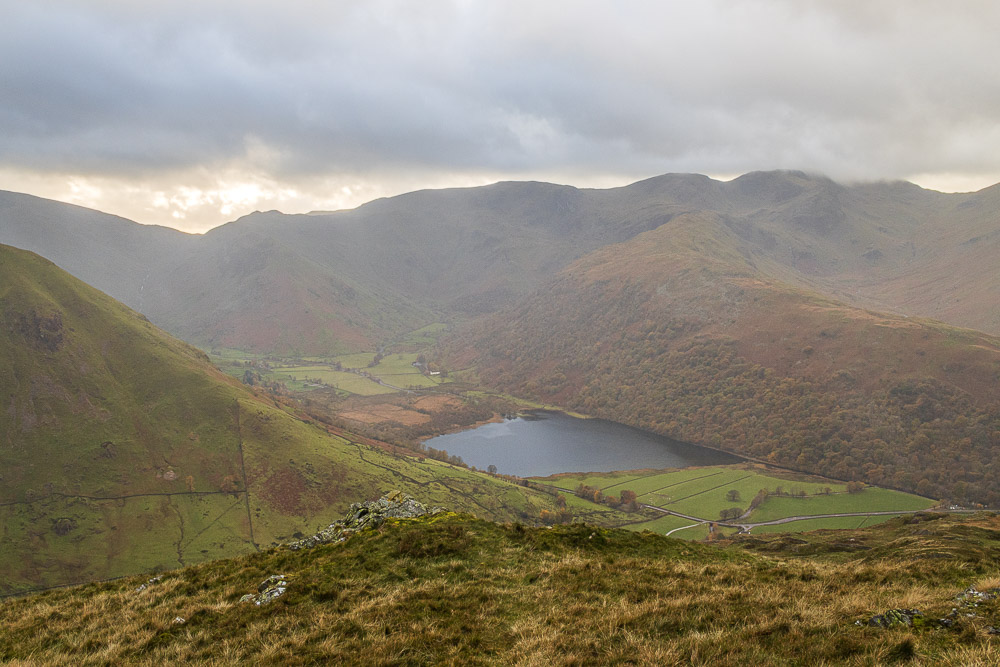
Looking across Brothers Water to Hartsop above How from the summit of Brock Crags.
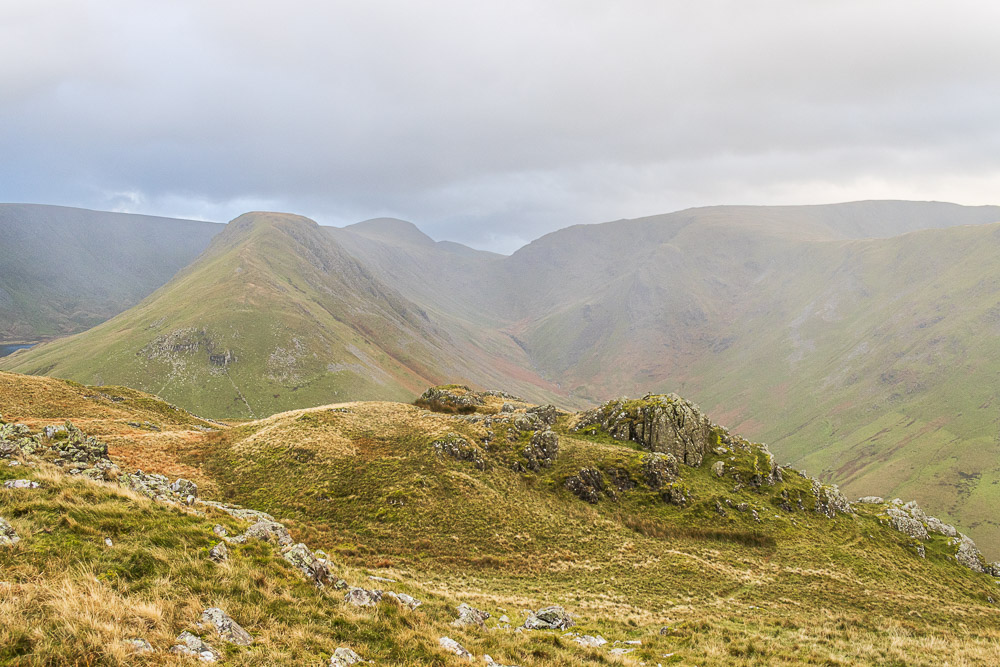
The rain and low cloud blowing across from the west meant that our view of Threshthwaite Mouth from the summit was obscured.
After a brief chat with the couple at the cairn we reversed our steps. Once again no sooner had we left the summit than it stopped raining.
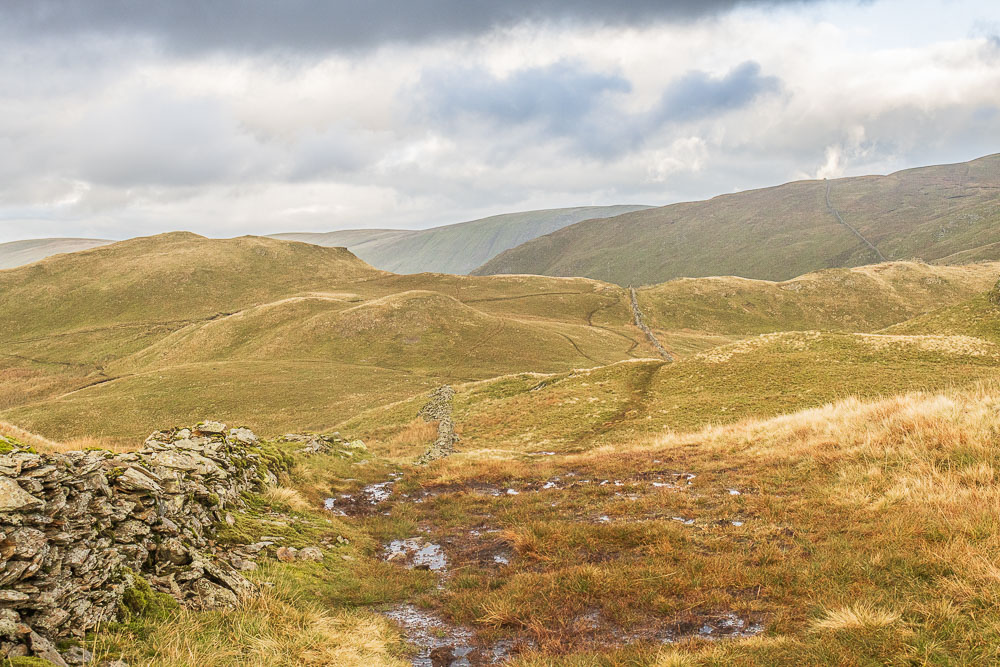
We follow the path next to the wall and decide that given it is the start of our holiday we will avoid the steep descent and the strain it would put on our knees.
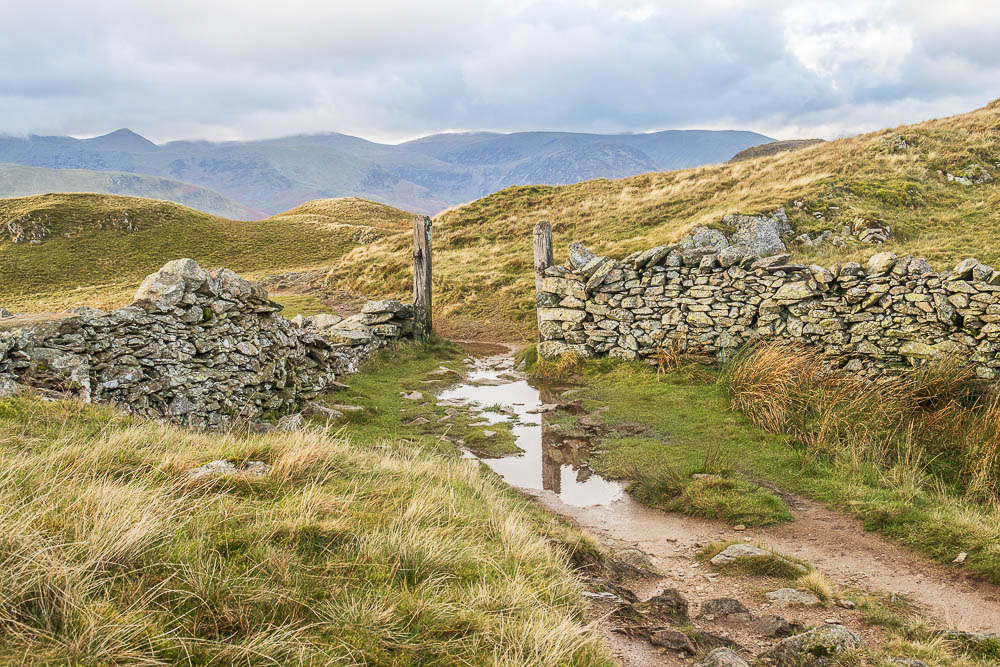
We soon arrive at the gate posts on Satura Crag.
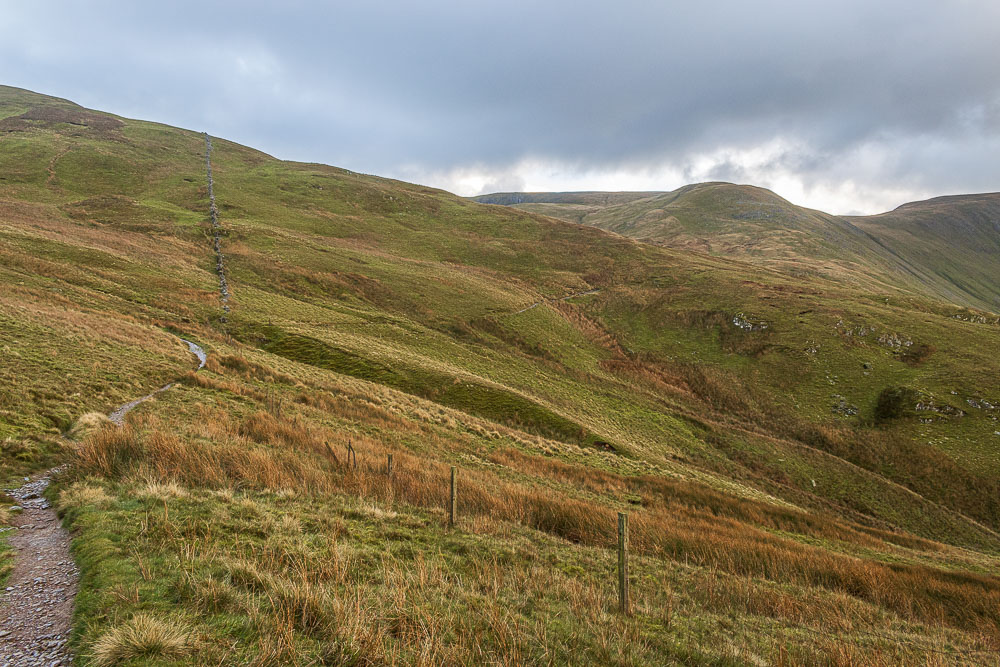
Having crossed the rocky top of Satura Crag we briefly lose the path and find ourselves facing a path about to ascend Rest Dodd. A quick scout to the right means we regain the path we want which is heading towards The Knott.
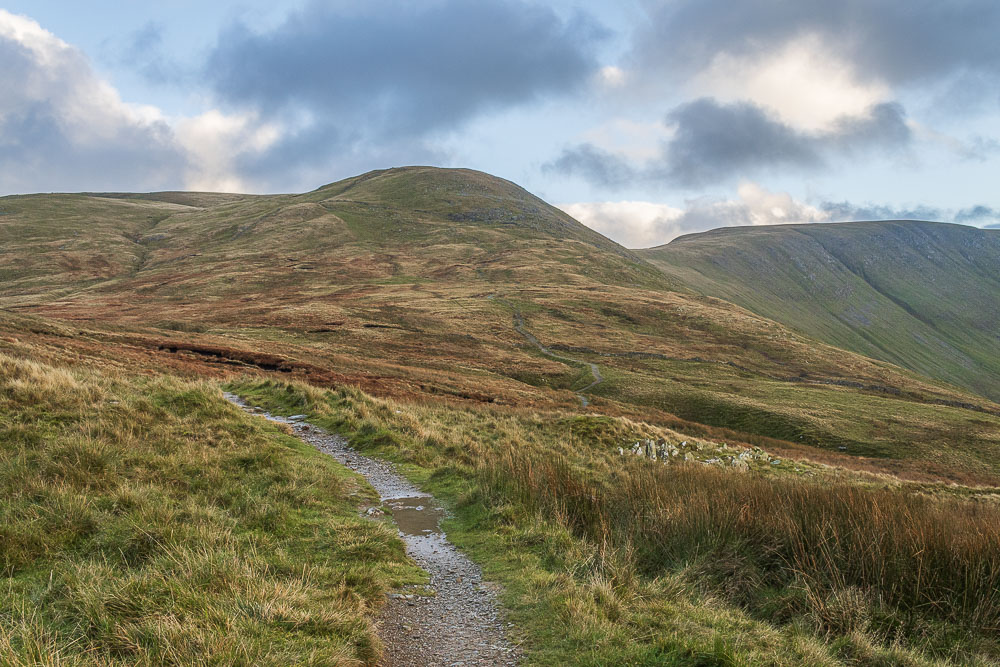
As the path heads up The Knott we spot the path which will take us down to Hayeswater.
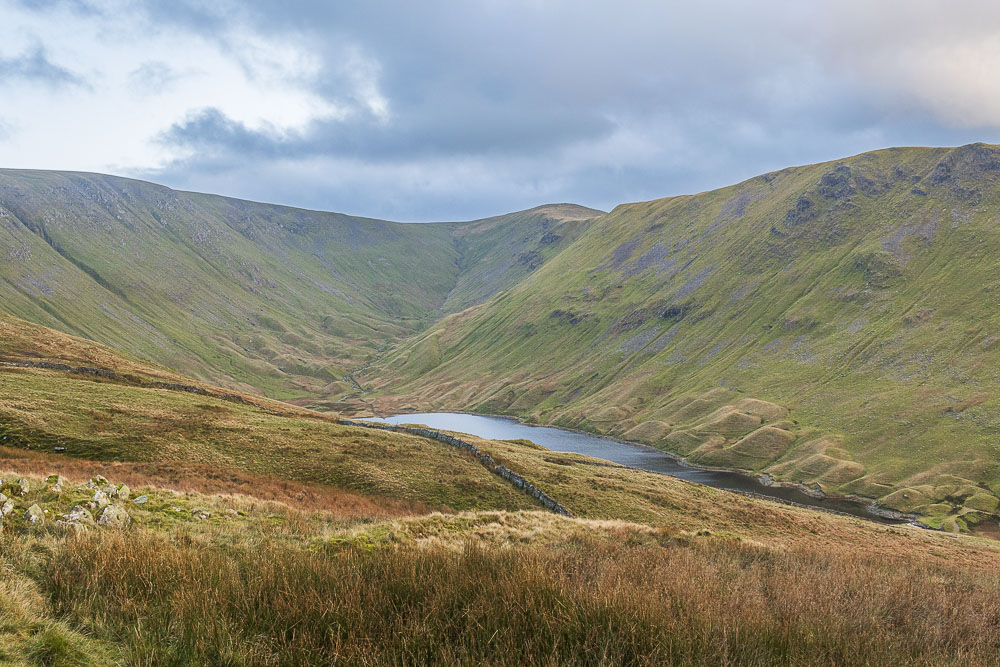
Heading down to Hayeswater we can't but realise how steep the sides of Gray Crag are.
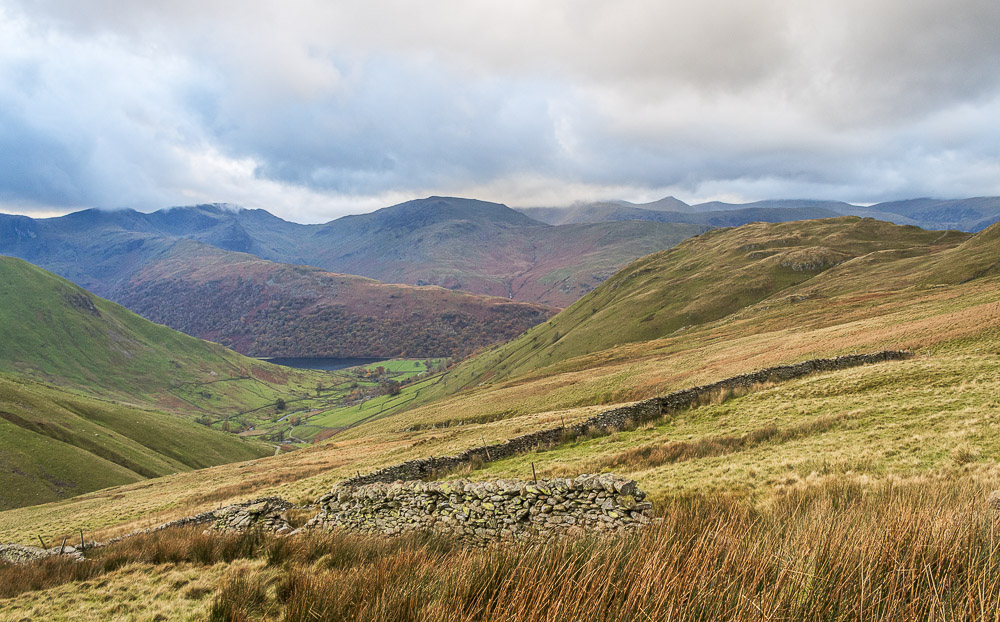
Looking across Brothers Water to St Sunday Crag with Fairfield and Helvellyn topped by cloud.
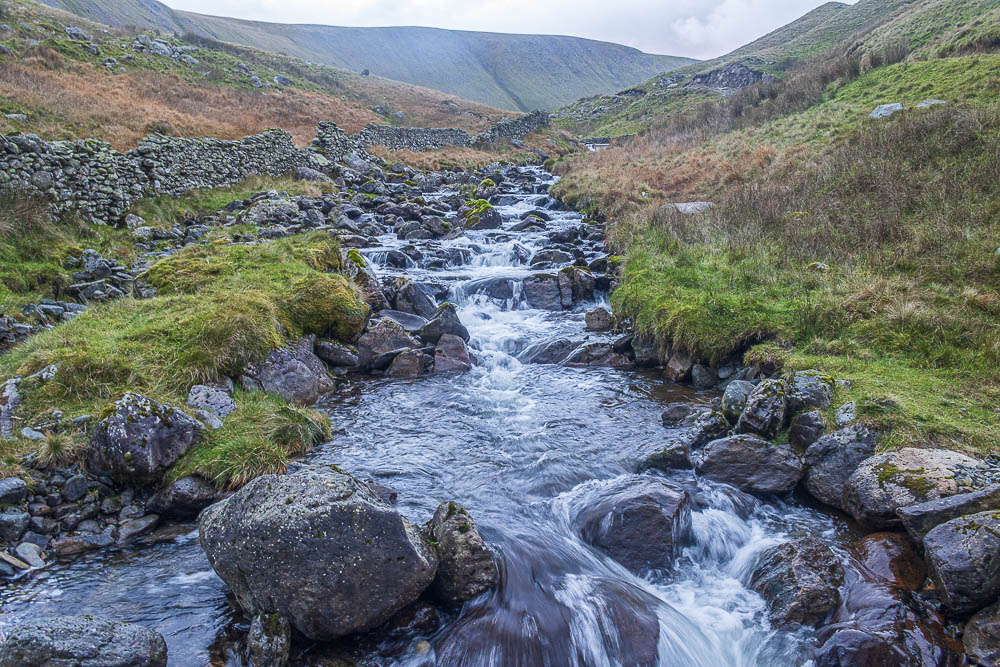
Crossing the footbridge we stopped for a while to enjoy the water running below us.
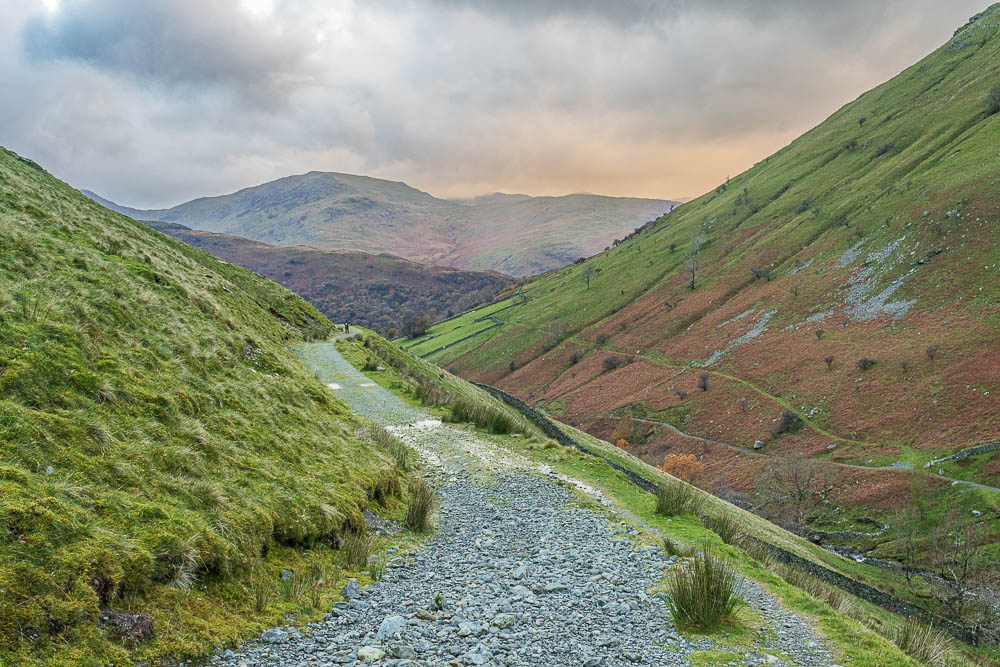
As we followed the track down to Hartsop we could hear lots of shouting, at first we thought someone had lost their dog but in fact it was farmers gathering in the last of their flock of sheep.
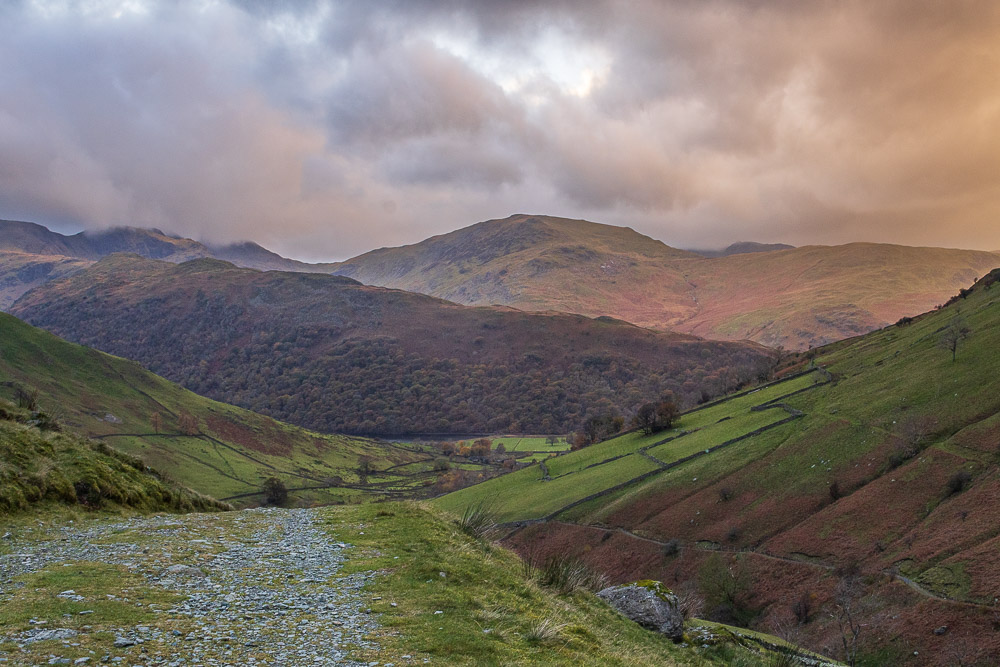
Heading along the path to Hartsop we were able to enjoy the fells and clouds opposite us briefly turning orange as the sun made its final appearance for the day.
All pictures copyright © Peak Walker 2006-2024